Steps to Install a Cedar Shingle Roof
Our Guide to Cedar Shingle Roof Installation
Cedar shingles bring natural beauty and remarkable durability to any home. These eco-friendly materials can last decades when installed correctly. The key lies in following proper cedar shingle roof installation techniques that ensure a safe and stunning finish. Professional installation protects your investment and maximizes your roof lifespan. Each step matters, from ventilation to final trimming. Small mistakes can lead to big problems down the road. CedarTech Roofing has the guidance you need on how to install cedar shingles on a roof. We’ll walk you through the essential steps to create a lasting roof.
Step One: Installing Ventilation Components
Proper airflow is key to preventing moisture issues and protecting your roof. Over-fascia vents and support trays ensure healthy air circulation. This air circulation is critical if you want to keep cedar shingles dry and strong. Follow these steps to install the ventilation elements of your roof effectively:
- Over-Fascia Vents: First, you must create the base for strong airflow. These vents prevent moisture buildup and protect your roof’s structure.
- Support Trays: Next, you’ll need support trays that help guide air above the vents while supporting the underlayment. Setting in your support trays adds strength and maintains proper air channels.
- Firm Fastening: Secure all pieces tightly with proper fasteners to keep everything in place during harsh weather.
- Blockage Check: Ensure all pathways are clear for smooth airflow. Blocked vents can reduce the circulation and airflow of your roof.
Step Two: Getting the Cedar Shingle Underlayment in Place
Underlayment creates your roof’s first line of defense against water. Roll it out with 4-6 inches of overlap between sections. This overlap forms a watertight barrier that protects everything underneath. Pull the underlayment below the support trays for complete edge coverage. Use sealing tape to secure all layers and eliminate wrinkles. Smooth installation prevents water from finding weak spots. Take your time here, as rushing this step can lead to more maintenance repairs later.
Step Three: Placing the Roof Battens
Treated wood battens provide the framework for your cedar shingles. This material resists rot and decay better than untreated alternatives. Measure and mark batten placement carefully, typically spacing them 5 inches apart. Check local building codes for exact batten spacing requirements. Some areas have specific guidelines for cedar shingle installation. Level battens create straight shingle lines and professional results. Secure each batten with appropriate nails and double-check alignment before moving forward.
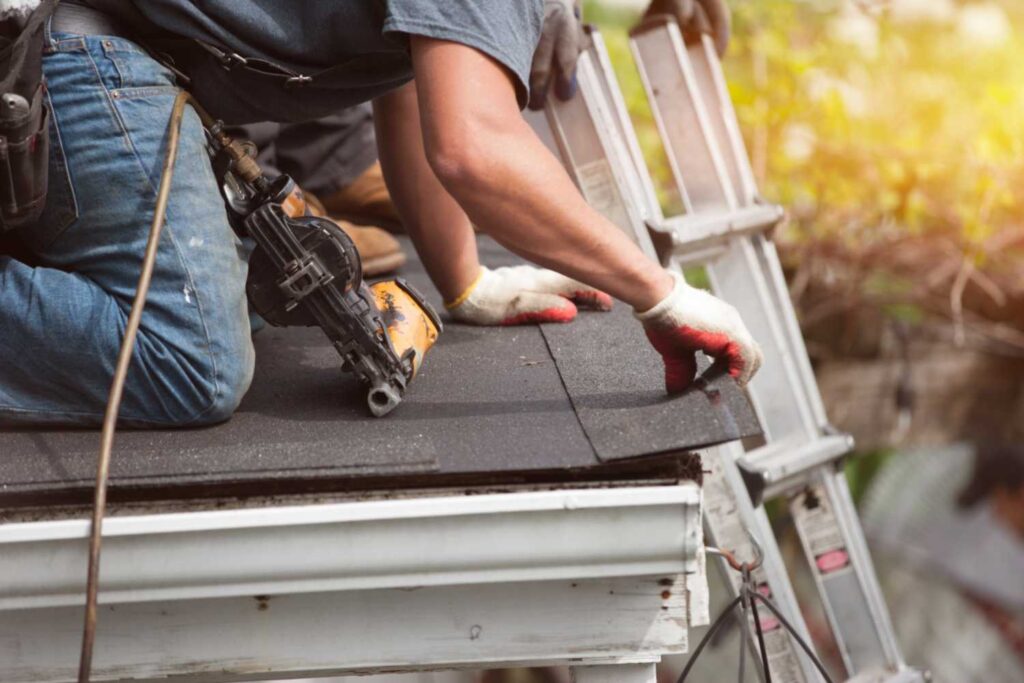
Step Four: Installing Cedar Shingles in Layers
Start your first row with a 1.5-inch overhang for proper water runoff. This overhang directs water away from the fascia and foundation. Use a “broken bond” pattern that staggers seams between rows for maximum strength. Leave small gaps between individual shingles for ventilation and expansion. Cedar moves with temperature changes, and these gaps prevent buckling. Nail or staple each shingle consistently using manufacturer-recommended fasteners. Consistent placement creates both durability and visual appeal.
Step Five: Trimming the Edges of Cedar Shingles
Trimming cedar shingles properly ensures a polished finish and improves performance. Precise cuts help with runoff and make installations look like professional re-roofing. Follow these tips to achieve clean, consistent results:
- Using a Chalk Line: Mark your cutting points with a chalk line for straight, consistent edges every time.
- Double-check: Remember: measure twice, cut once. You can’t bring back material once it’s cut, so be sure to double-check!
- Sharp Tools: Sharp tools make smoother cuts and reduce the chance of splitting or damage.
Professional Cedar Shingle Installation Matters
Expert cedar shingle roof installation protects your home for decades. Proper techniques prevent costly repairs and ensure your roof performs as expected. CedarTech Roofing brings more than 30 years of experience to every project. We never cut corners because your family’s protection depends on getting it right the first time. Ready to upgrade your home with beautiful, durable cedar shingles? Contact CedarTech Roofing today for your free inspection and estimate. Let our family-owned business show you why proper installation makes all the difference.